I've recently discovered
DayZ GTA Version, a multiplayer zombie survival mod for
Multi Theft Auto GTA San Andreas. The game borrows many concepts from the
DayZ ARMA2 mod and places them in the Grand Theft Auto San Andreas environment. There is currently one server that runs this mod and while it sometimes lags and there are a few glitches and bugs. The game is very interesting to explore and play. If you like GTA and zombies then I recommend you try it.
What is required:
1. GTA: San Andreas 1.0
- If you have a steam version of GTA: San Andreas or a new retail release/upgrade you will need to downgrade to San Andreas 1.0
- You may also need a no cd gta_sa.exe version if you have issues starting the game (I had issues with the retail version of the game and needed a no cd executable to fix it) The HOODLUM release no cd hlm-gtasa will work. gta_sa.exe MD5: 170b3a9108687b26da2d8901c6948a18 (use Google to find it)
2.
Multi Theft Auto
3. After installing SA 1.0 and MTA, start Multi Theft Auto and connect to
176.65.141.184:22003
4. You will download about 12mb worth of resources and an additional 3mb map file, if the download is slow just wait it may take a few minutes. Each time you rejoin the server you will have to re-download the 3mb map file, but not the resource file.
5. Once connected create a username/password and login, you will then spawn in the game. If you leave the server you character will be saved, just remember your login info. If you die your character will re-spawn and you will lose all your items, you can try to go back to the location of your death and attempt to pick up your old items if they haven't been looted yet.
Screenshots:
Typical spawn point close to water, you spawn with 2 bandages and 1 painkiller. I've edited this screenshot to provide a quick description of the interface. You need to run away from spawns quick, there maybe other players in the area looking to kill you. Your priority in the beginning is to find a weapon, water and food. You can find these items by the entrances of buildings, on dead players or zombies.
Attacking a zombie with a knife, takes about 3 hits to take one down. Don't waste your time fighting them off with your fists, run away and find a weapon first. Zombies aren't hard to kill but can overwhelm you in tight spots.
After killing 5 zombies. Crouching makes you less visible to zombies. If you kill a few players your skin will turn into a bandit. Be careful around any other players, some are friendly most will try to kill you.
It's very difficult to take combat screenshots as combat requires full use of the keyboard and mouse. So these basic early game screenshots don't do justice to the gameplay, but trust me it's good.
DayZ GTA How-To Guide:
Basic Controls:
- WASD to move around and the mouse to aim and look around
- MOUSE1 to shoot/attack
- MOUSE2 aim/zoom weapons
- MIDDLE MOUSE to look behind or to pick up items/inventory over gear
- SHIFT to jump or climb obstacles
- SPACE to run
- C to crouch (zombies are less likely to attack from certain distance when crouching)
- J to open your inventory, right click an item and select an action to use it (e.g. select pizza, right click and select to eat it)
- TAB for score board
- F1 for group system
- F5 to close or open right side stats (leave it open it's useful)
- F11 to use map, you need to find a map first
- T for local chat (limited by distance) also press T and type /msg PlayerName Your Message to pm players (not limited by distance)
- O for global chat
- Z for radio chat (requires radio device, limited by distance)
- F to enter vehicles, G to enter as a passenger (vehicles are rare and require engine, tires and fuel)
- I for Infrared Vision (requires infrared goggles)
- N for Night Vision (requires night vision goggles)
Drinks: (used to quench thirst)
- Milk, Soda Bottle, Full Water Bottle
- Empty Water Bottle can be refilled in any lake/pool, go in to water until you are swimming and right click to refill
Food to feed hunger: (also restore a little health)
- Beans Can, Pasta Can: restores 200 blood
- Pizza, Burger: restores 300 blood
- Cooked Meat: restores 800 blood
Medical Supplies: (you spawn with 2 bandages and 1 painkiller)
- Bandage: stops bleeding
- Painkiller: stops screen shaking after taking a certain type of damage
- Morphine: used to fix broken bones
- Medkit: restores health (but not fully about 8000-9000 blood)
- Heat Pack: used to restore body temperature, rarely used since body temperature only drops after a very long time in water
- Blood Bag: restores full health (12000 blood), but requires another player to do a blood transfusion
Backpacks:
- Default: 10 spaces
- Small Backpack: 16 spaces
- Alice Backpack: 28 spaces
- Coyote Backpack: 36 spaces
Example of the Alice Backpack with 28 spaces to hold items.
Other:
- Map: shows your location and a full map of the game when you press F11 (no bp space used)
- GPS: shows a small location map in left bottom corner of your screen (no bp space used)
- Watch: shows time in top right corner (no bp space used)
- Lighter: requires wood and animal flesh to make cooked meat (no bp space used)
- Wood: requires lighter and animal flesh to make cooked meat
- Road Flare: used to create a strong visible light
- Infrared Goggles: Infrared vision, press I to enable/disable
- Night Vision Goggles: Night vision, press N to enable/disable
- Tent: used to store items
- Wire Fences: used to block off areas
- Toolbox: used to destroy a wire fence and to repair vehicles (unlimited use)
- Empty/Full Patrol Canister: fuel required for vehicles, can be refilled at gas stations
- Tires: multiple required for vehicles
- Engine: required for vehicles
Items with no use: (do not pick them up they just take backpack space)
- Scrubby Burgers
- Empty Soda Cans
Skins:
In this game you can use a few other player model skins, first you need to find them and then to equip them just place them into your backpack, right click and select equip. Your skin will auto-change if you kill enough players and become a bandit. You will also want to drop your standard skin if you plan to use another one as it takes up backpack space. There are 4 regular skins and 2 bandit skins available.
- Standard Skin: The default skin you spawn with, will change into a bandit skin if you kill players.
- Civilian Skin: Elderly veteran skin, will change into an arctic bandit skin if you kill players.
- Army Skin: Army soldier skin, some zombies use this skin as well.
- Sniper Skin: You will turn into a green Chewbacca.
Weapons:
You have primary and secondary weapons, all weapons except Knife and Katana require ammo. Two weapons can be equipped at the same time, use mouse scroll to change between equipped weapons and use inventory (J) + right click to equip weapons. You can carry as many weapons and ammo as your backpack allows.
Primary Weapons:
- Shotgun Ammo: Shotgun, Sawn-Off Shotgun, SPAZ-12 Combat Shotgun
- Assault Ammo: AK-47, M4
- Sniper Ammo: Country Rifle, Sniper Rifle
- Rocket Ammo: Rocket Launcher, Heat-Seeking RPG
Secondary Weapons:
- Melee: Knife, Katana
- Pistol Ammo: Pistol, Silenced Pistol, Desert Eagle
- SMG Ammo: UZI, TEC-9, MP5
There is also a
Grenade, if I recall correctly it uses a special weapon slot.
More info about weapon stats:
http://wiki.dayz-mta.net/index.php/Weapons
Basic Strategy:
You need to find a weapon as soon as possible, a knife or a katana is a good start. It will allow you to kill zombies, it takes about 3 hits to take out a zombie. You can run in a straight line do a 180 degree turn and strike them with a knife, then continue running past them, repeat until they are dead. Some zombies have loot. You should also look around building entrances and dead players.
After that you need to find some water and food. Water will drain slightly quicker than food. It takes a while for you to become thirsty or hungry to the point of draining health, but it is also important to make sure your essentials are covered. You should also look for a bigger backpack, it will allow you to collect more items, ultimate goal for a backpack is the coyote backpack. A map is also very good to have, you will have a good idea where to go. Certain areas are dominated by different groups of people, there are a lot of places to explore.
After this point focus on getting some guns and ammo and continue exploring. You may want to try to find a vehicle or infiltrate an area once you have the basics. This game is probably better enjoyed with a group of friends, but it might be hard to get everyone together in one area.
Keep in mind you will probably die a lot, so be careful around other people. Crouch and hide if you see someone, if they start shooting take cover or run away unless you have superior firepower and a good strategy for attack.
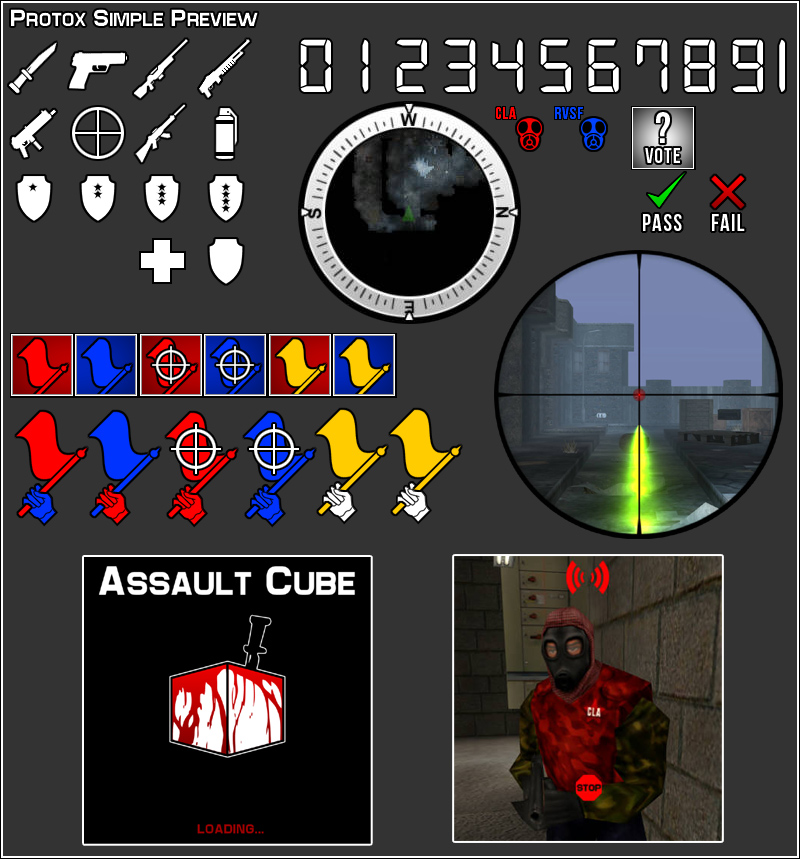
I also made an image guide for DayZ GTA version:
If you want a larger version of the image guide or if it needs to be updated you can download the
PSD version here.
Hope you found this article useful and will give this game a try, I play by the name Protox in case you run in to me.